Create a form
Start building awesome forms in under 5 minutes
Before we get down to create a form, it's important to understand two key concepts:
- Workspace: Think of this as a shared virtual office where your team collaborates. Whether you're a company, a school, or a group, you can create a Workspace that represents the collective environment where everyone works together.
- Project: Within a Workspace, a Project is like a dedicated workbench where members focus on specific tasks or themes. It’s where you manage everything related to a particular area, such as form creation, audience management, and integrations.
For example, if you’re a product manager at a SaaS startup, you might create a Workspace called "XYZ". Within this Workspace, you could set up a Project specifically for "Product Management," where you handle forms related to market research and idea validation.
Alternatively, if you’re a high school math teacher, you could create a Workspace with your school’s name. Inside this Workspace, you might establish a Project dedicated to "Math", where you can easily create quiz forms for final exams.
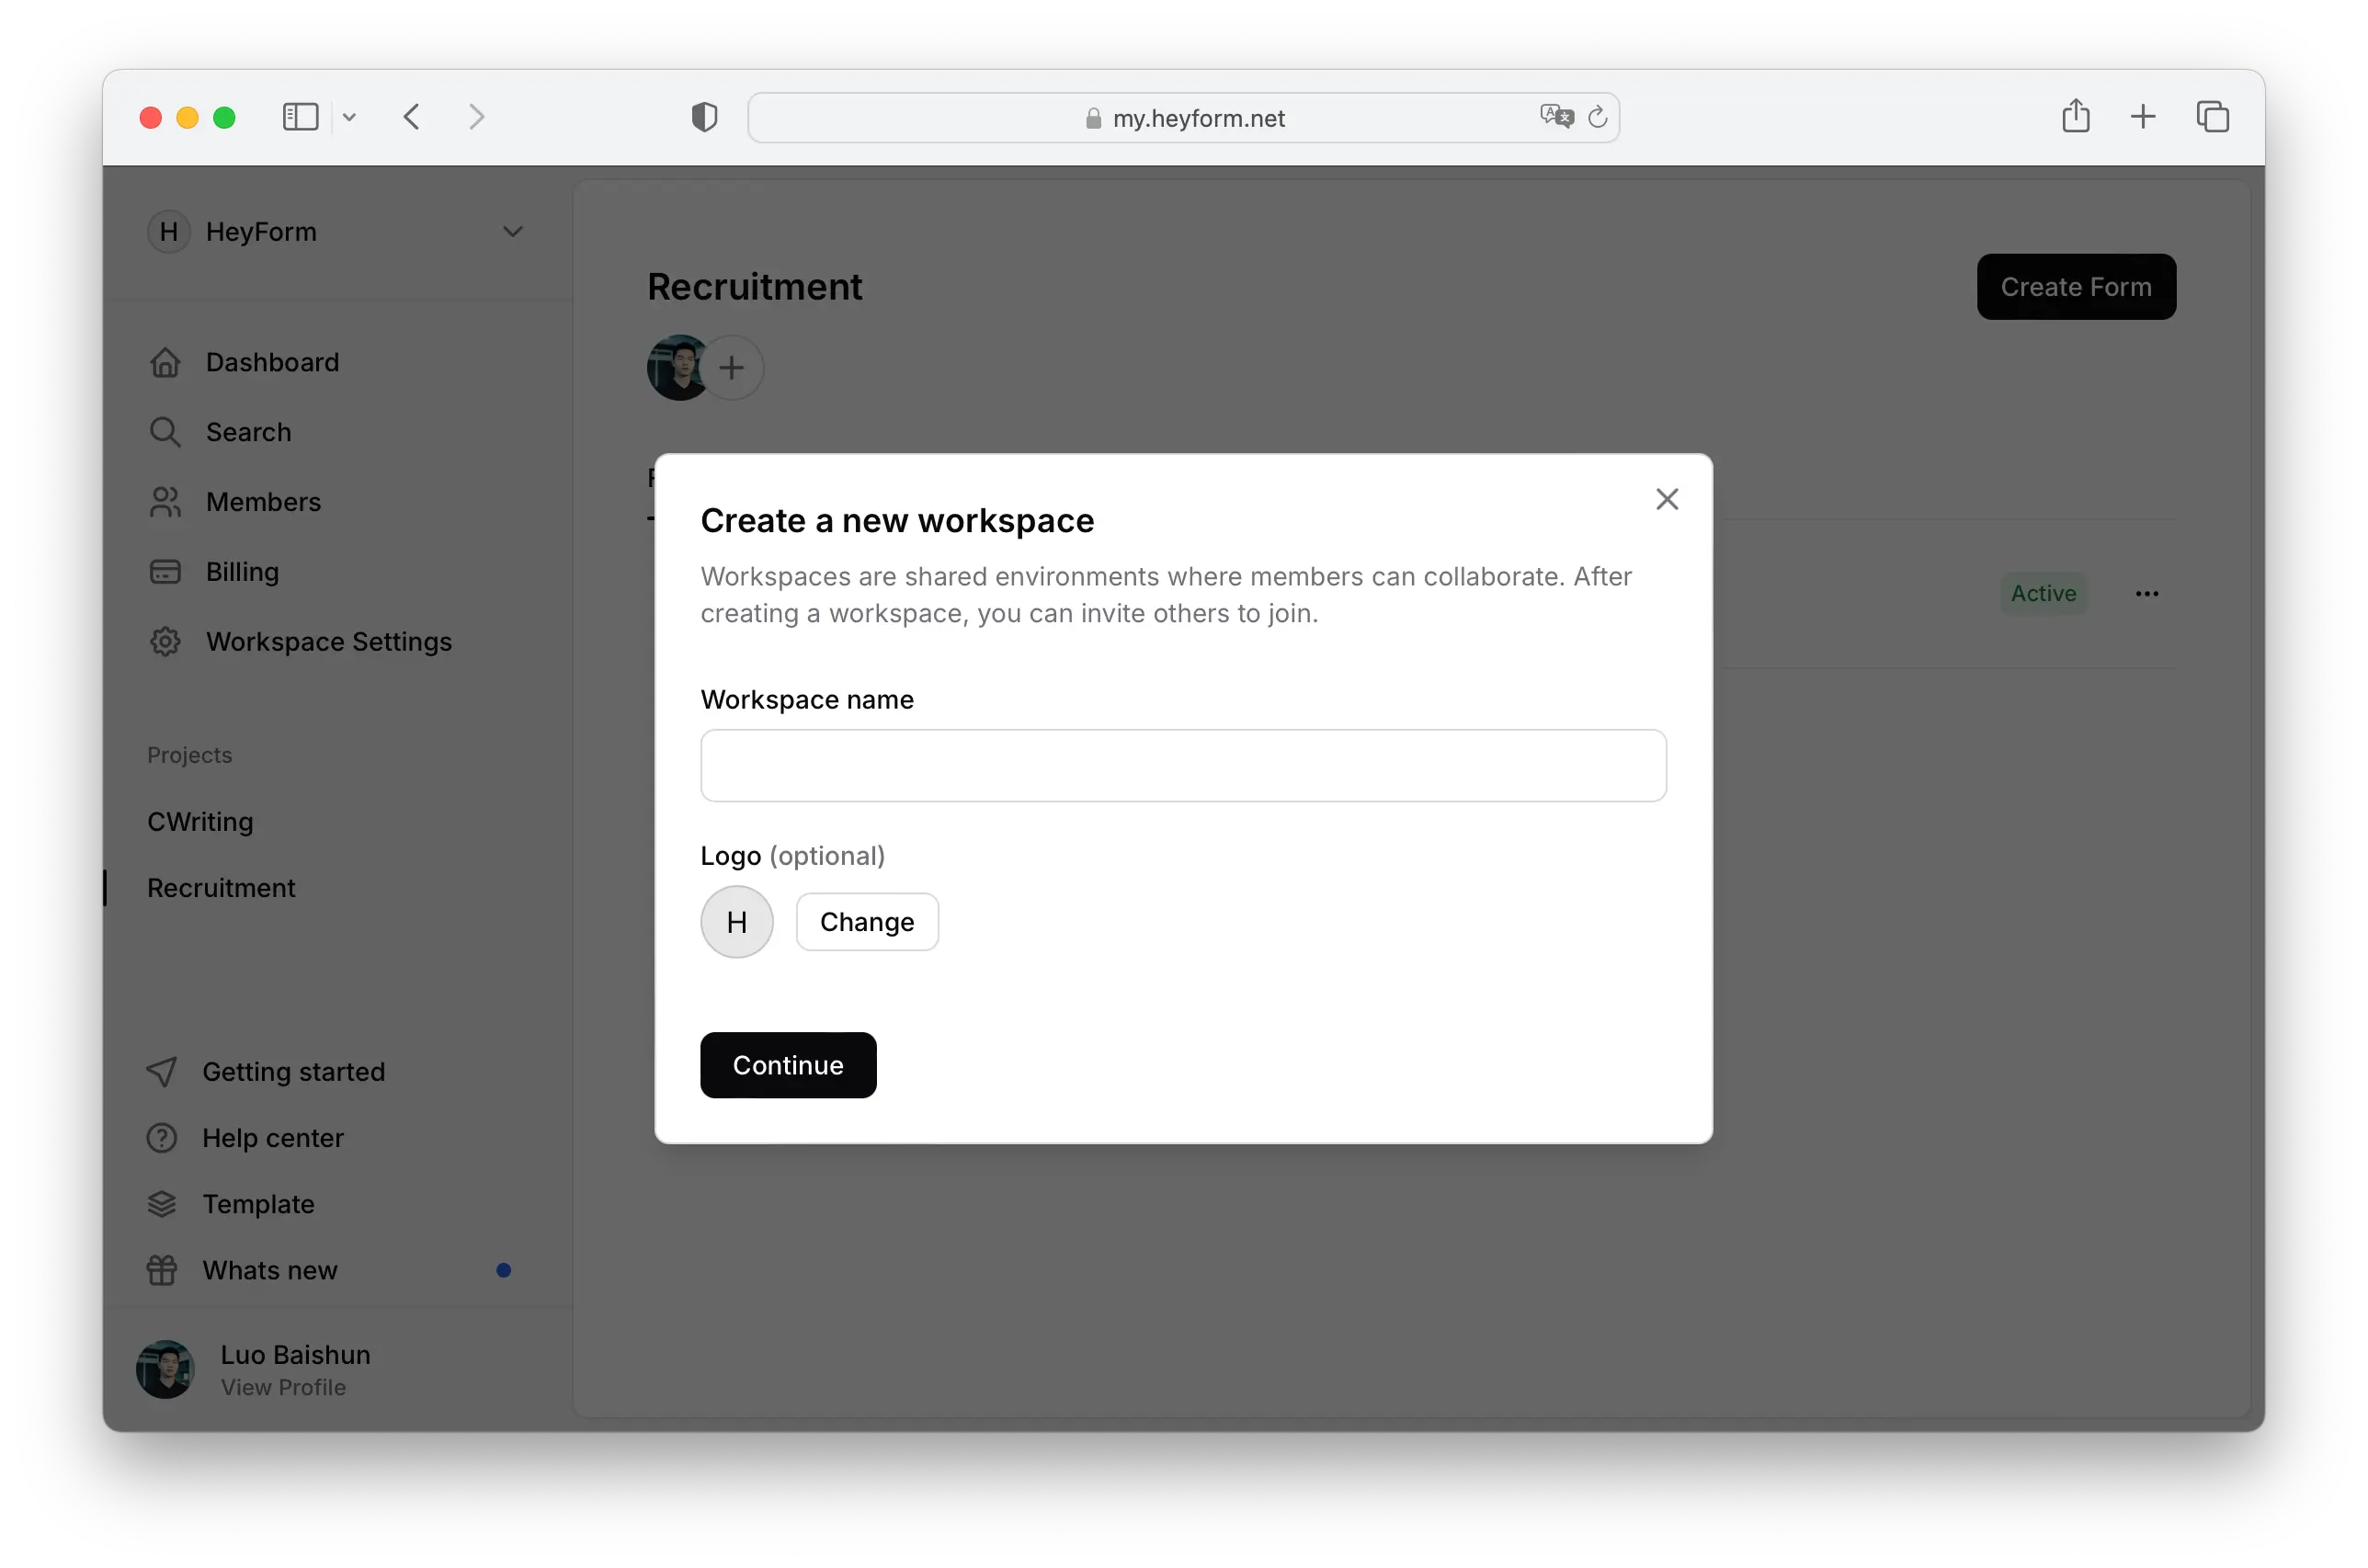
Create your first workspace
Once you've created a HeyForm account, you'll need to set up a new workspace to organize all your projects.
The name field is mandatory, while adding a logo is optional. If you don’t upload a logo, the system will use the first letter of your workspace name as a default.
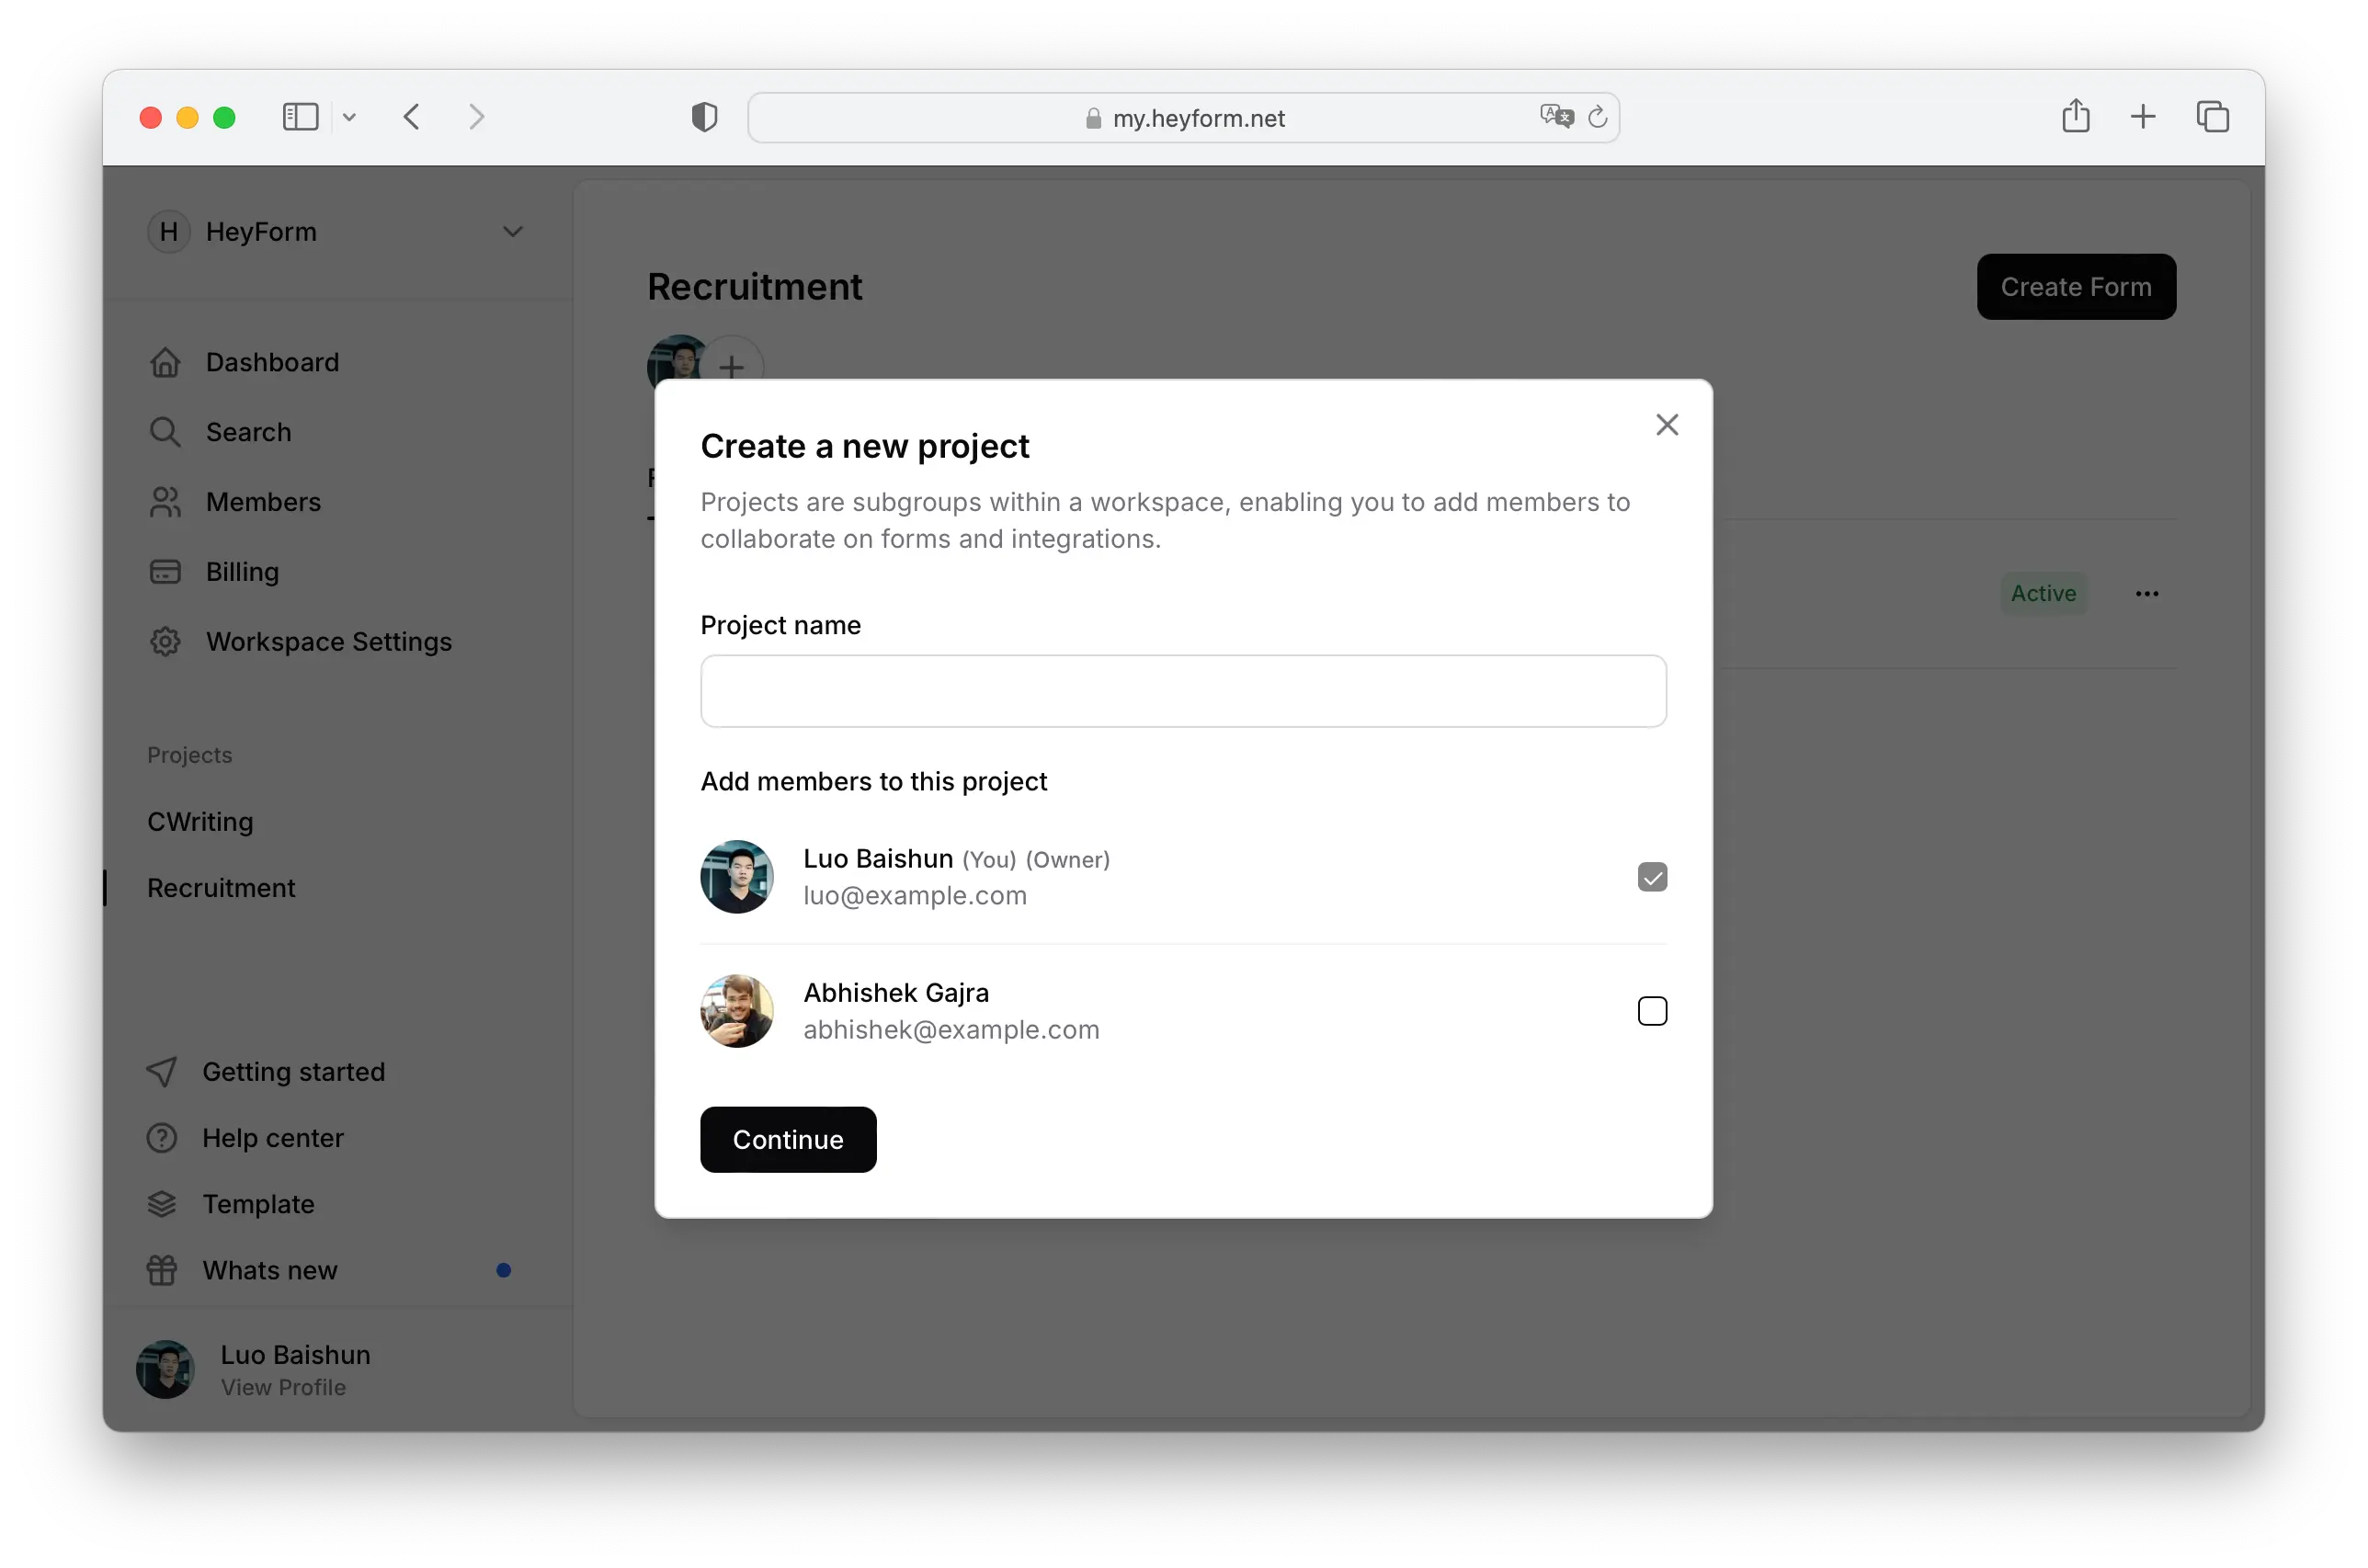
Create your first project
Once you've set up your workspace, the next step is to create a project where all your forms will be organized.
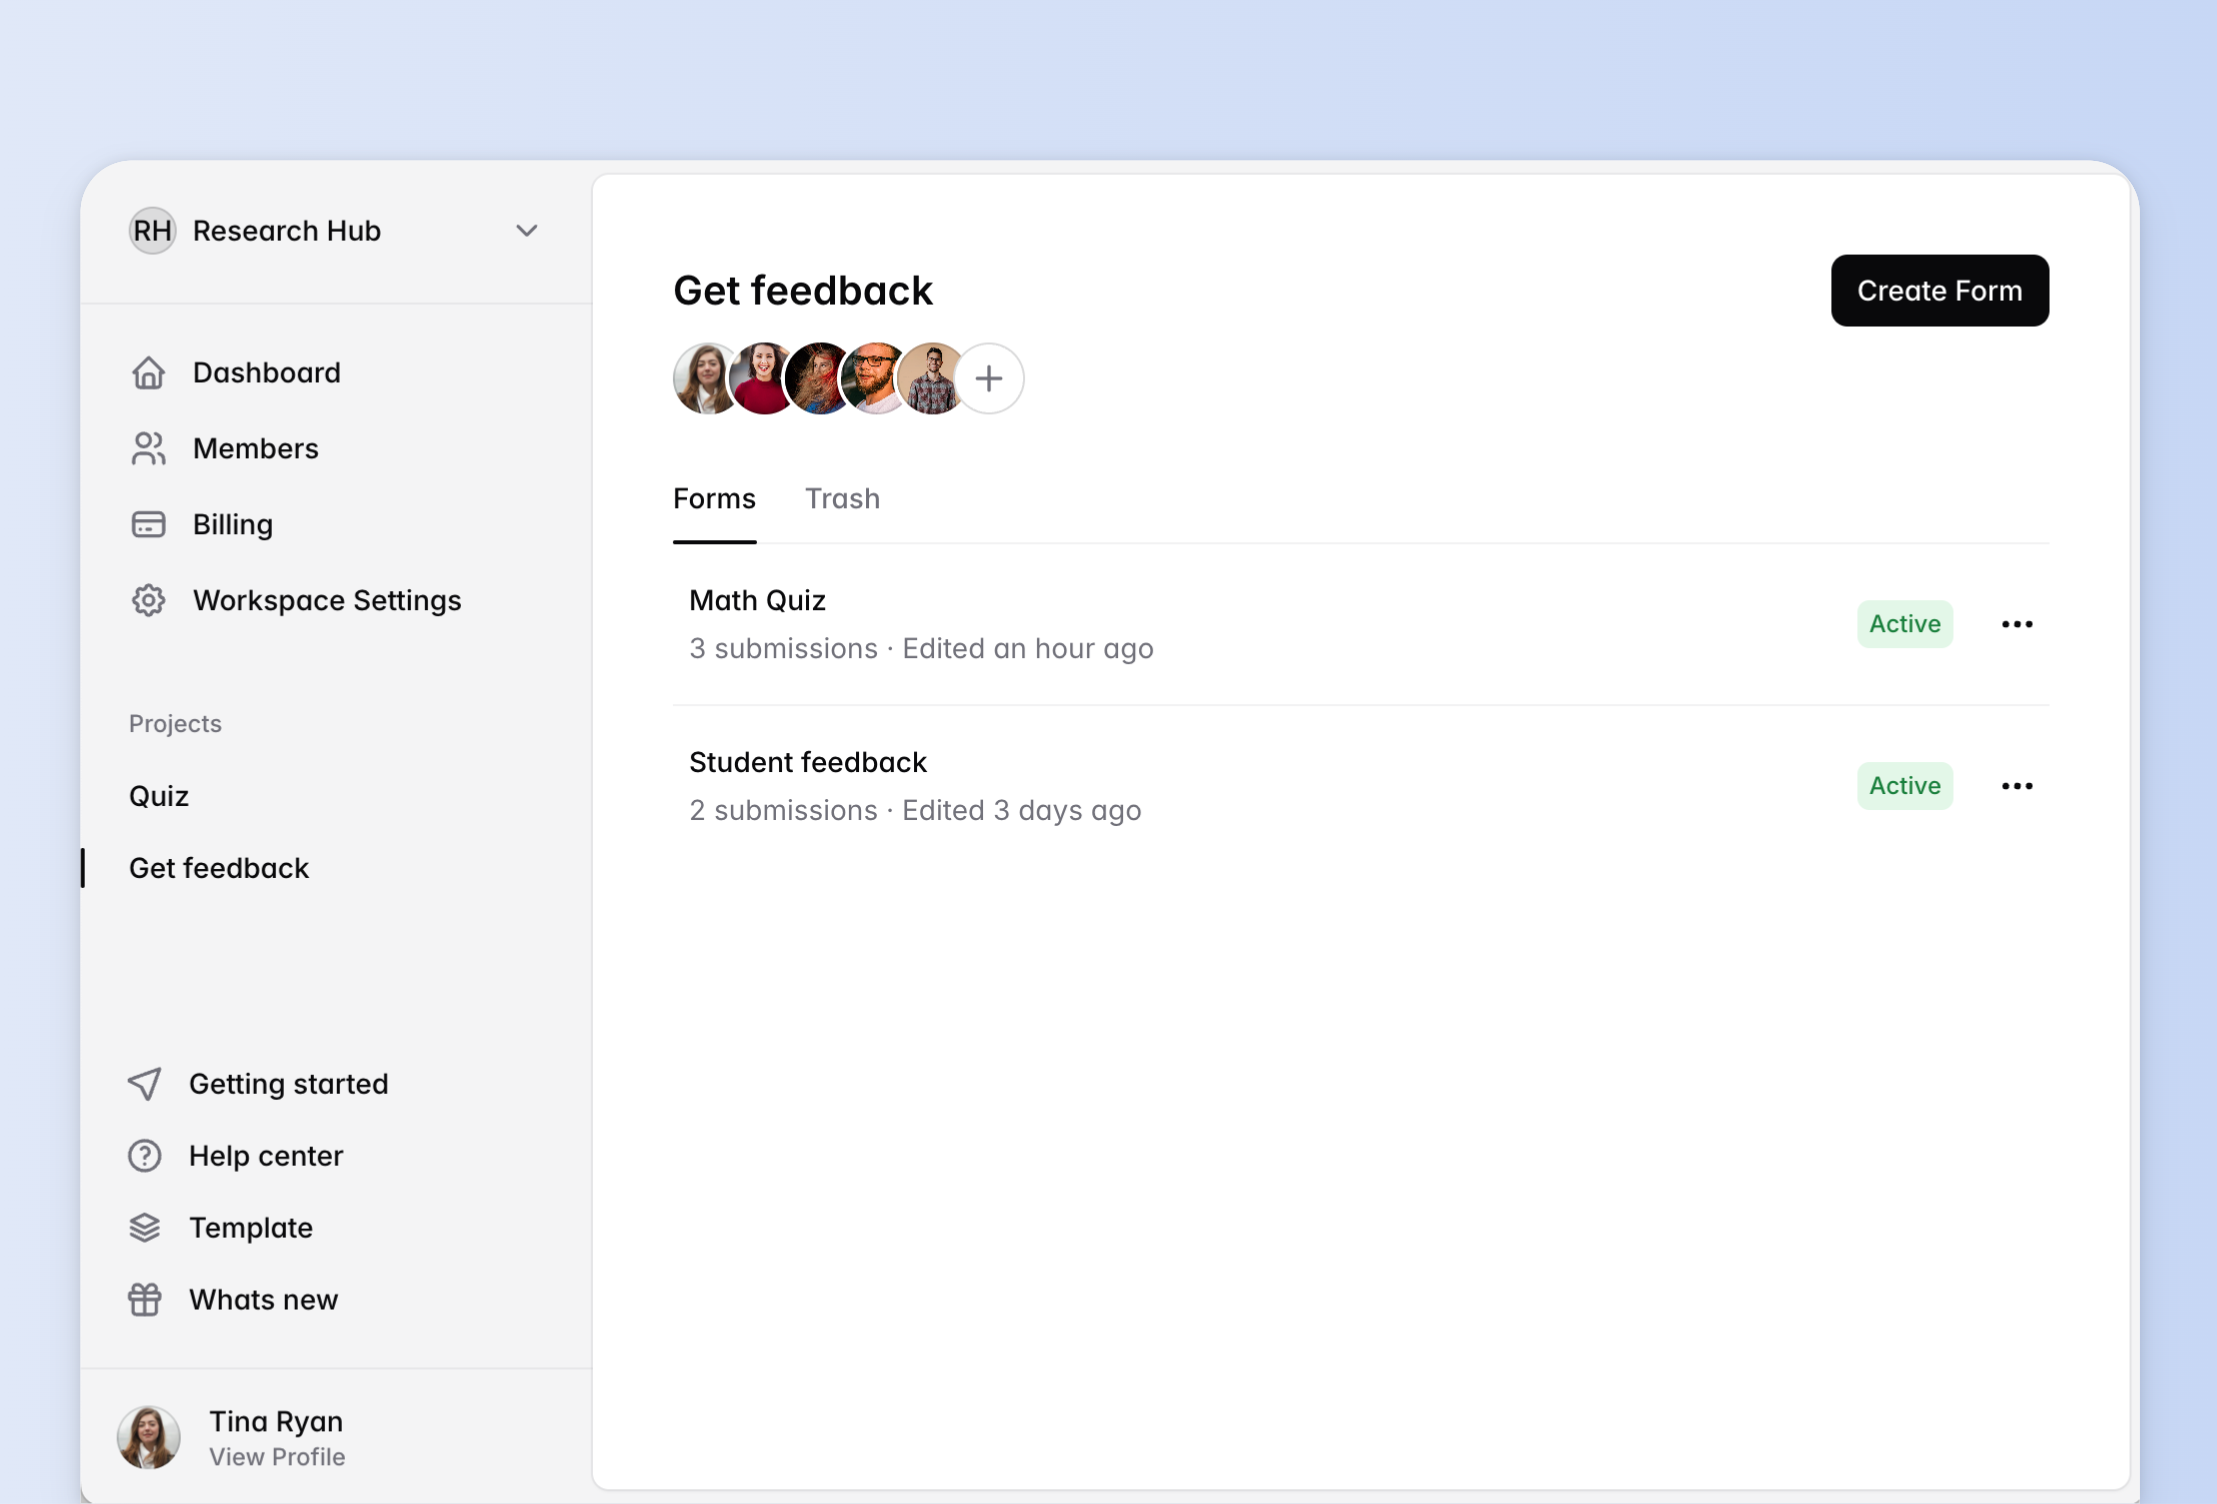
Once you are in, you can see all your projects listed in the left sidebar. You can click on the project name to view all the forms associated with it.
Create your first form
HeyForm offers three quick ways to create forms:
- Using AI
- From templates
- Starting from scratch
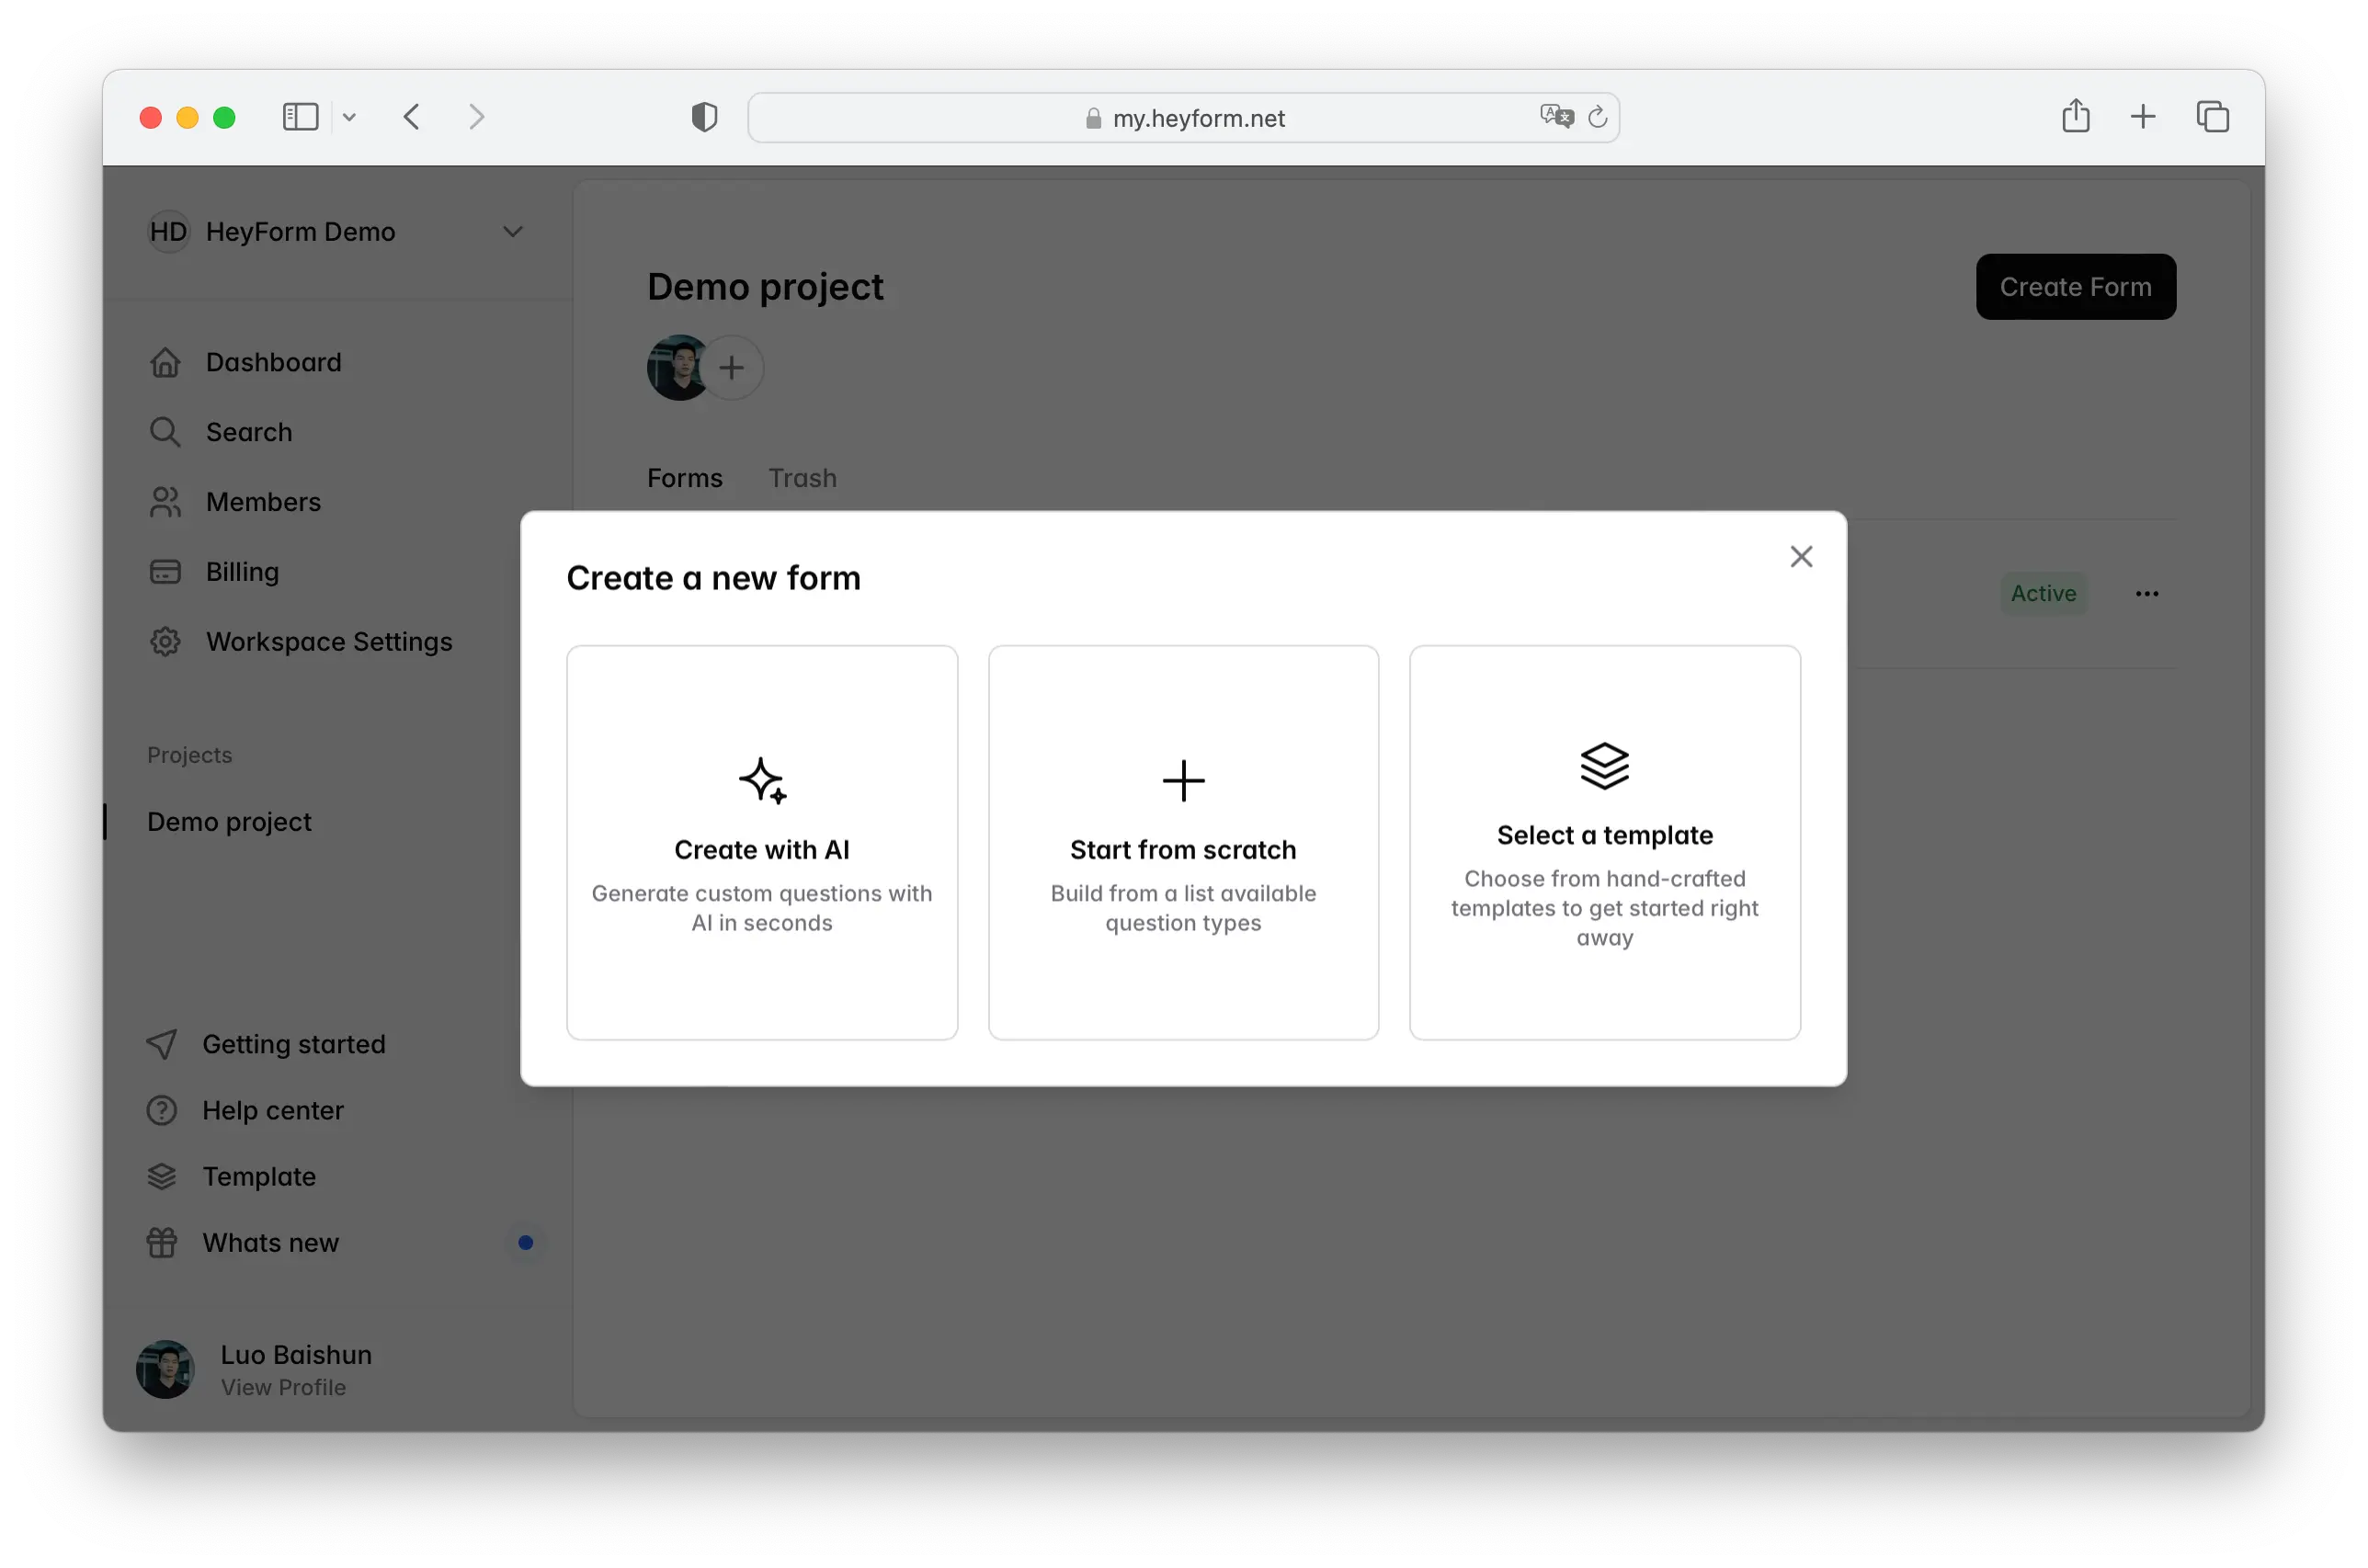
No matter which option you choose, you'll get a user-friendly form builder, similar to designing PowerPoint slides, where each question is displayed as a slider.
Move and duplicate a question
Move a question by dragging and dropping it to a new position in your form. Click on the right icon to expand the menu, and choose ‘Duplicate’ to duplicate a question.
Options Panel
The right sidebar, known as the Options Panel, allows you to customize your questions with various settings:
- Required or Optional: Choose whether a question is mandatory or not.
- Insert Image: Add an image to enhance your question.
- Character Limit: Set minimum and maximum character or choice limits.
- Form Design: Personalize the design of your form.
- Conditional Logic: Implement rules to hide, show, or jump to specific questions based on responses.
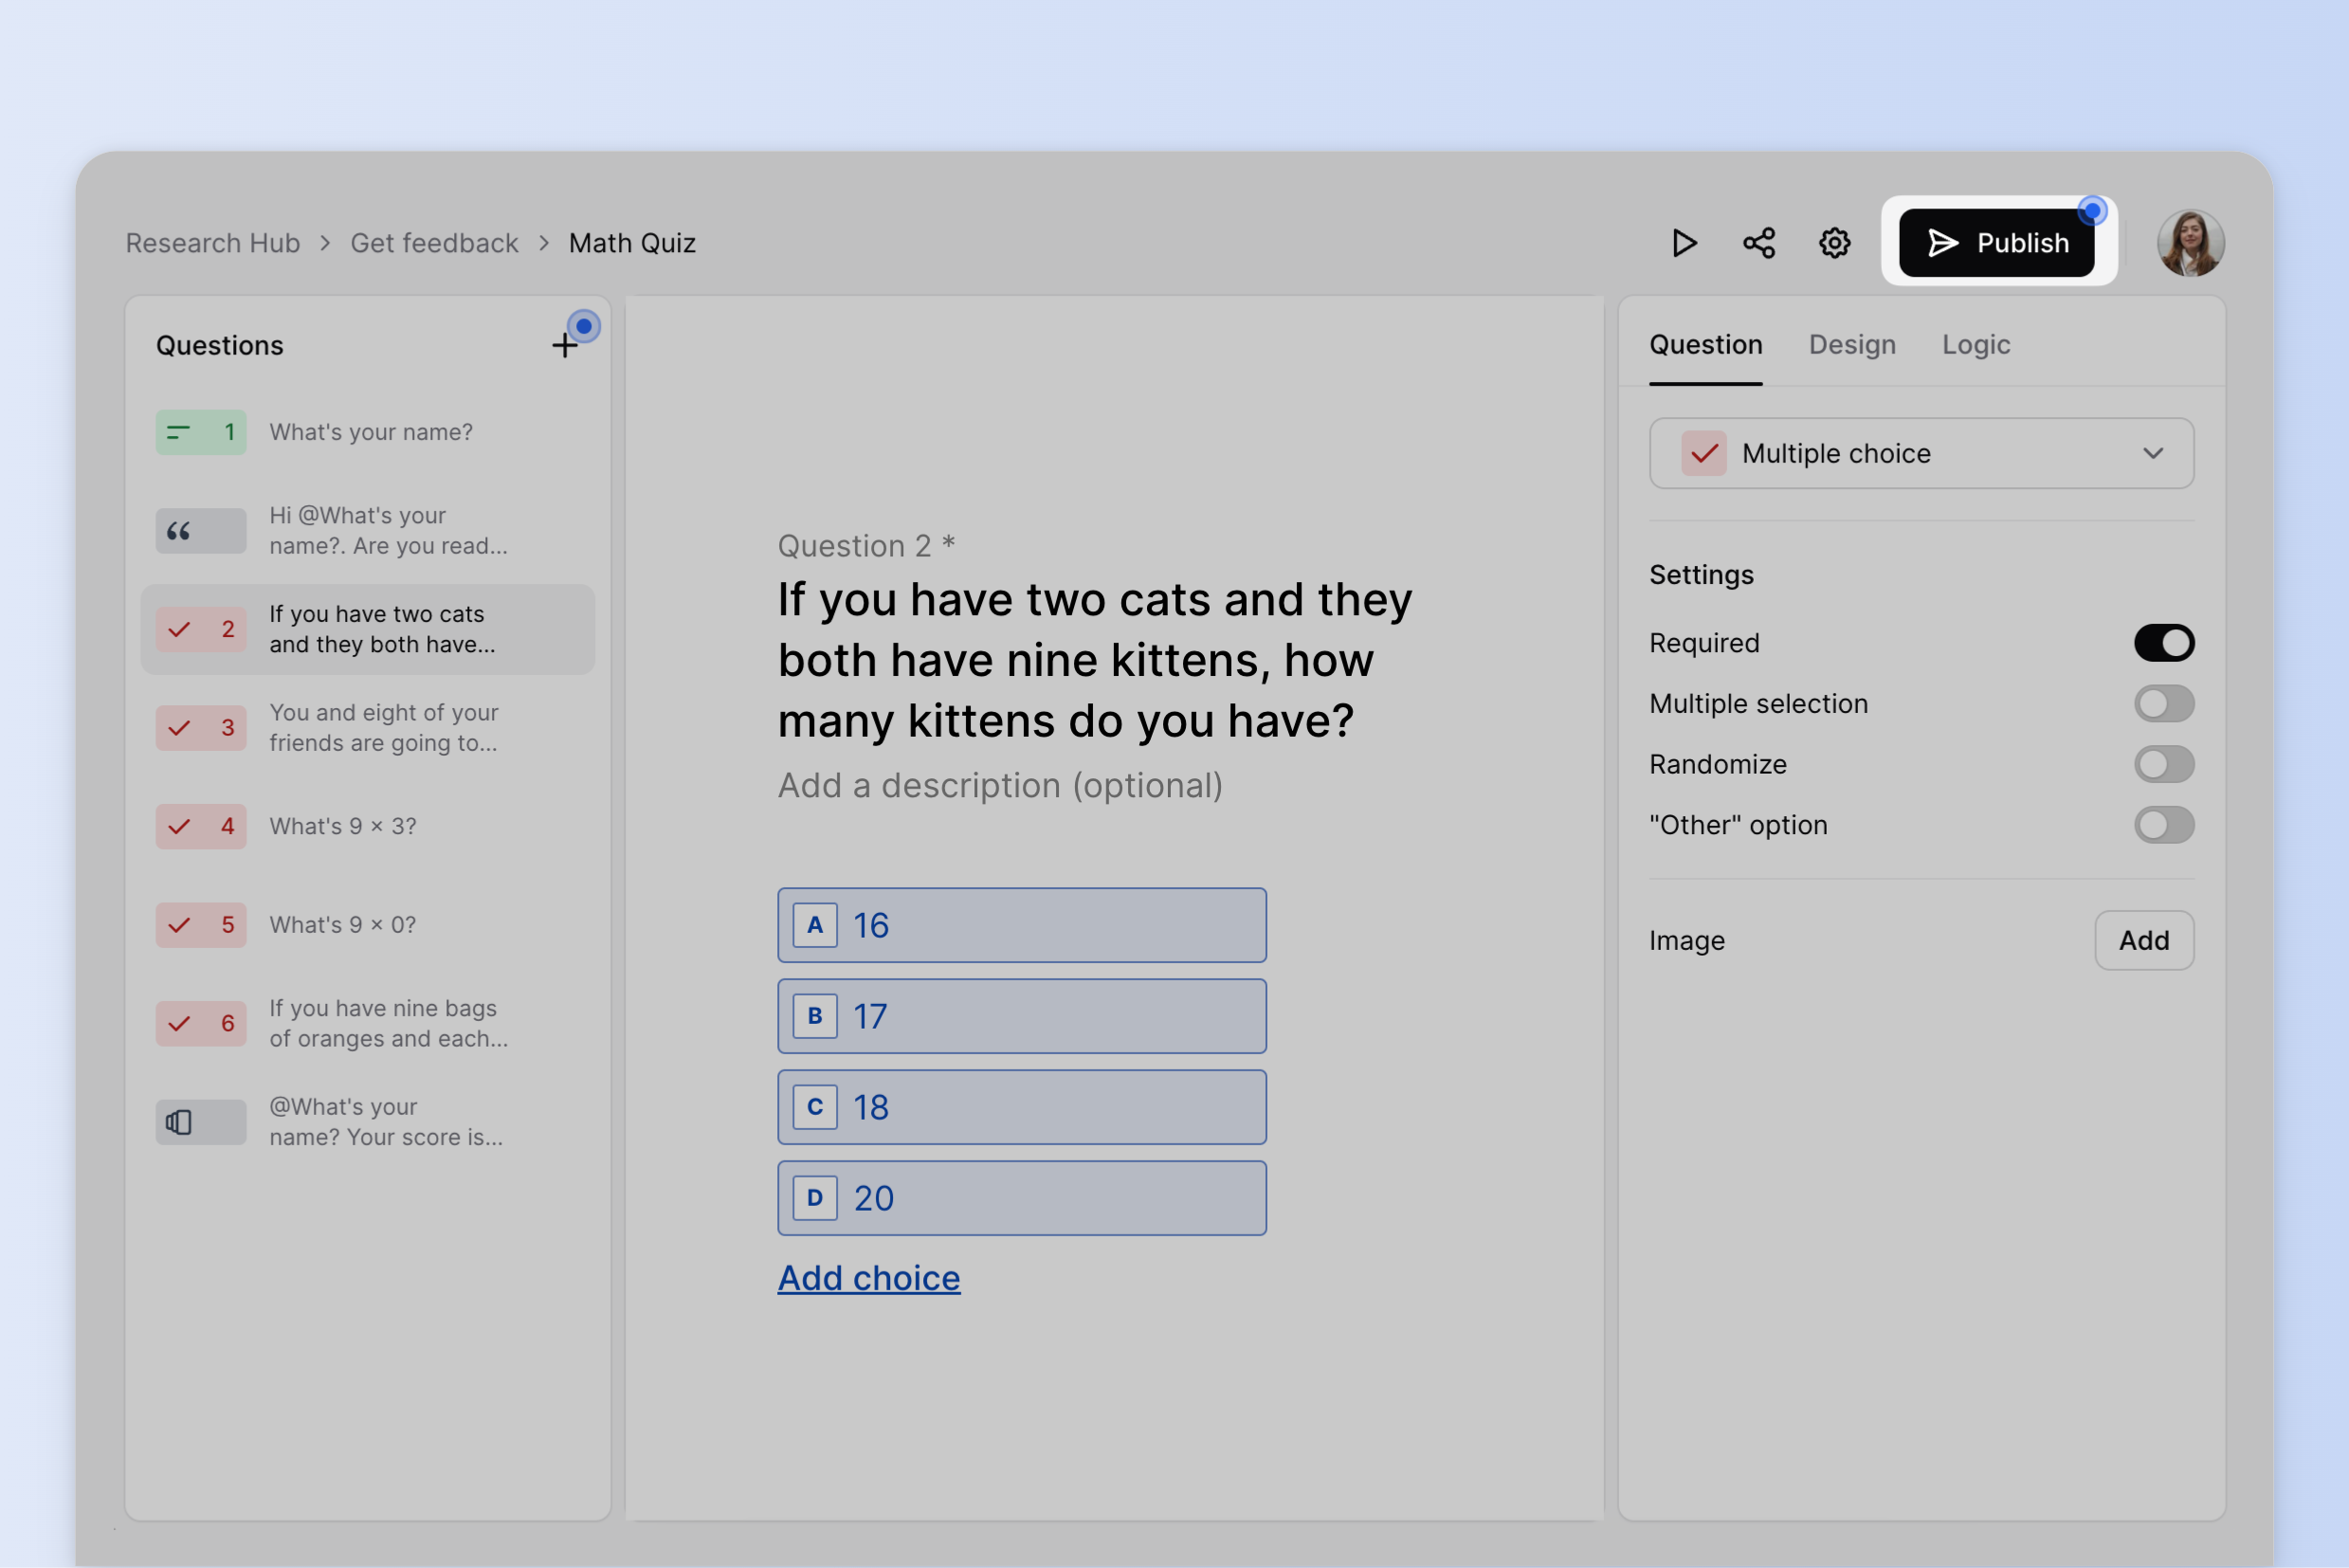
Publish your first form
As you create your form, all changes—whether adding new questions, rearranging them, or adjusting settings—are automatically saved as a draft on the HeyForm server.
When you're ready to make the form publicly accessible online, simply click the 'Publish' button located at the top right corner.
Once published, you can share your form on social media. HeyForm will generate an attractive preview image for each form to enhance its appeal.