Self-Hosting
Sponsor us
If you’re looking to self-host HeyForm, sponsoring us is a fantastic way to give back to the community and to contribute to the long-term sustainability of the project. It also comes with some perks like priority support and exclusive workshops. ❤️
One Click Deployment
Easy to deploy with one click and come with free credits.
Notice
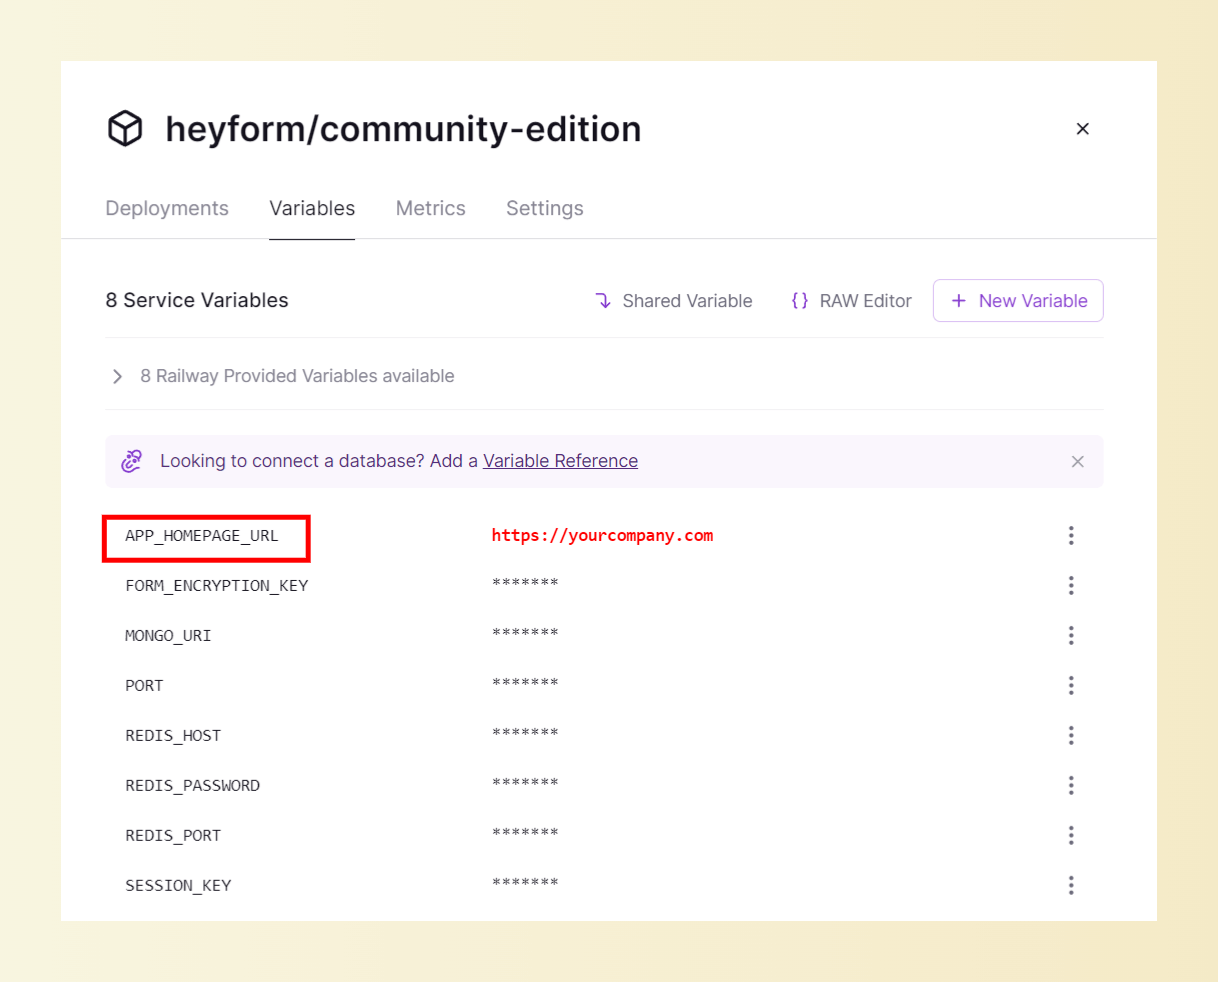
If you want to bound your own domain to Railway or Zeabur, please replace APP_HOMEPAGE_URL with your own domain name like this below and redeploy the instance:

Deploy with Docker
Requirements
Before you begin, ensure you have the following:
- Basic knowledge of Docker and containerization principles.
- Docker and Docker Compose are installed on your machine.
Configuration
Using this sample file as a reference create a docker.env file or environment in docker-compose.yml to contain the environment variables for your installation.
Docker Compose
1. Install Docker and Docker Compose:
For macOS users, you can install them by Homebrew:
For Windows users, you can install them by Chocolatey:
2. Create a docker-compose.yml file, an example configuration with all dependencies dockerized and environment variables is as follows:
Here are four different use cases. Please refer to their APP_HOMEPAGE_URL settings. Incorrect settings may result in login issues.
Run it
Make sure you are in the same directory as docker-compose.yml and start HeyForm:
When you run this command, by default, it does the following:
- Create a database
- Run the migrations
- Start the HeyForm web app on port 9513
You can now navigate to http://<server ip>:9513 or http://form.yourcompany.com and see the login screen. HeyForm itself does not perform SSL termination. It only runs on unencrypted HTTP. If you want to run on HTTPS you also need to set up a reverse proxy in front of the server.